Inevitably, after some time, the handle of your windsurfing boom will start to swing noticeably and you will need to thickening it. In this article, we describe some methods and solutions to do the job.
Windsurf boom handle thickening
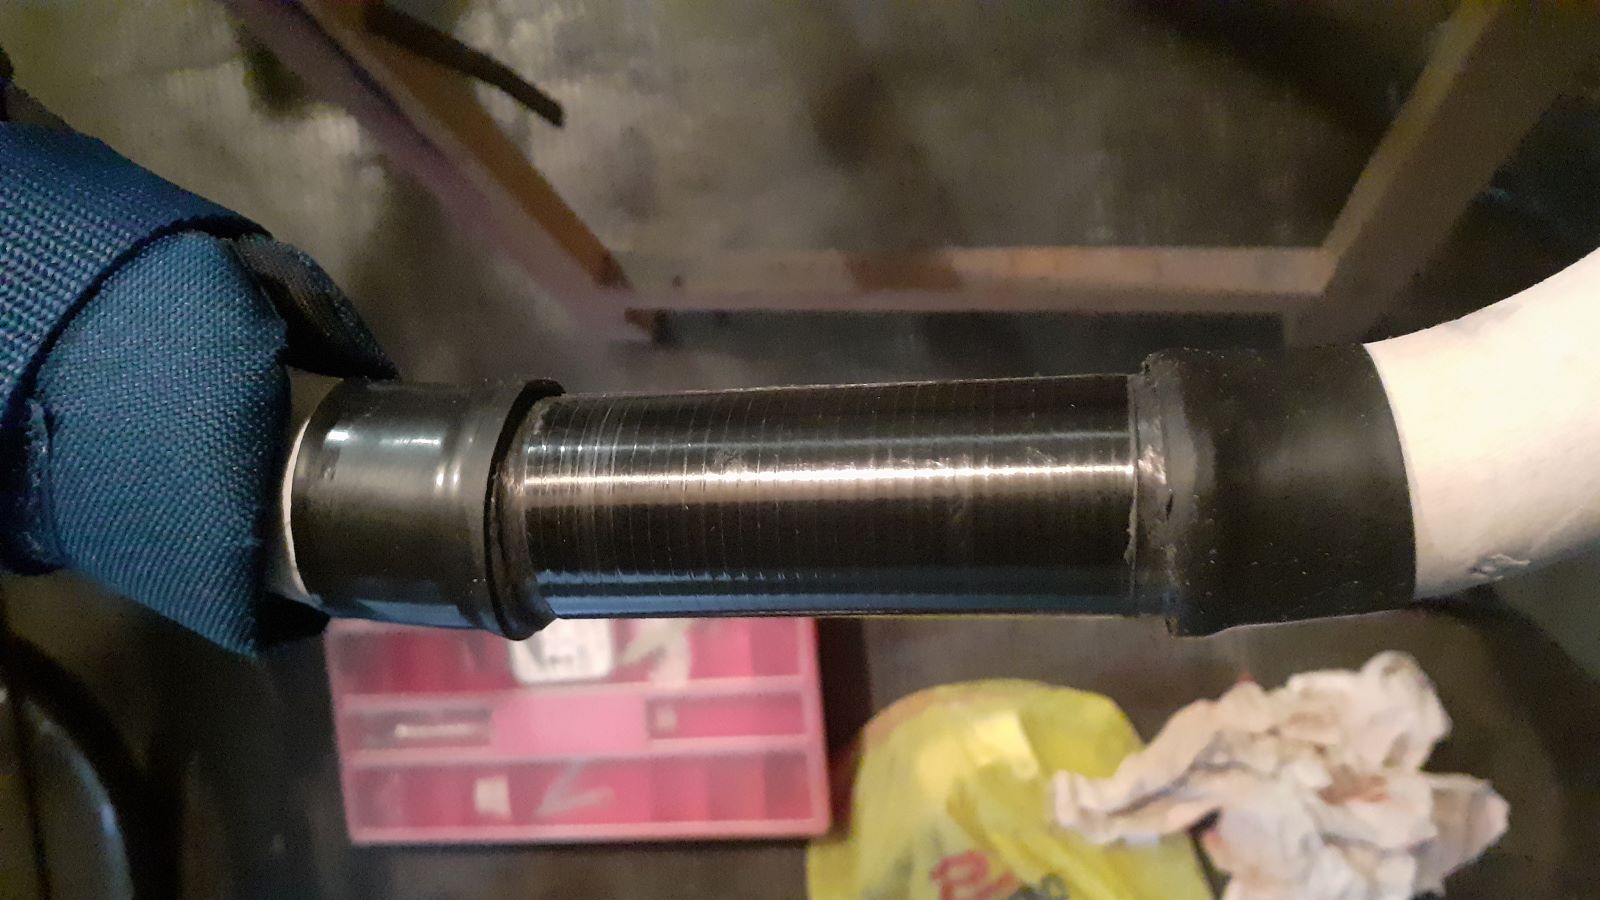
The wear of the carbon surface of the boom in contact with the handle is due to the friction between the two components. The phenomenon is almost always accentuated by the fact that some sand gets between the two, which scratches the surface of the carbon tube. It is good practice to always rinse the boom in fresh water after sessions at sea spots, but inevitably some grains of sand will remain trapped inside, and over time they will do their job.
Some freedom (i.e. some loosen junction) between handle and boom is tolerable; but when it becomes excessive, the boom will no longer be firmly fixed on the mast with movements and vibrations (especially lateral ones), which can be annoying during sailing.
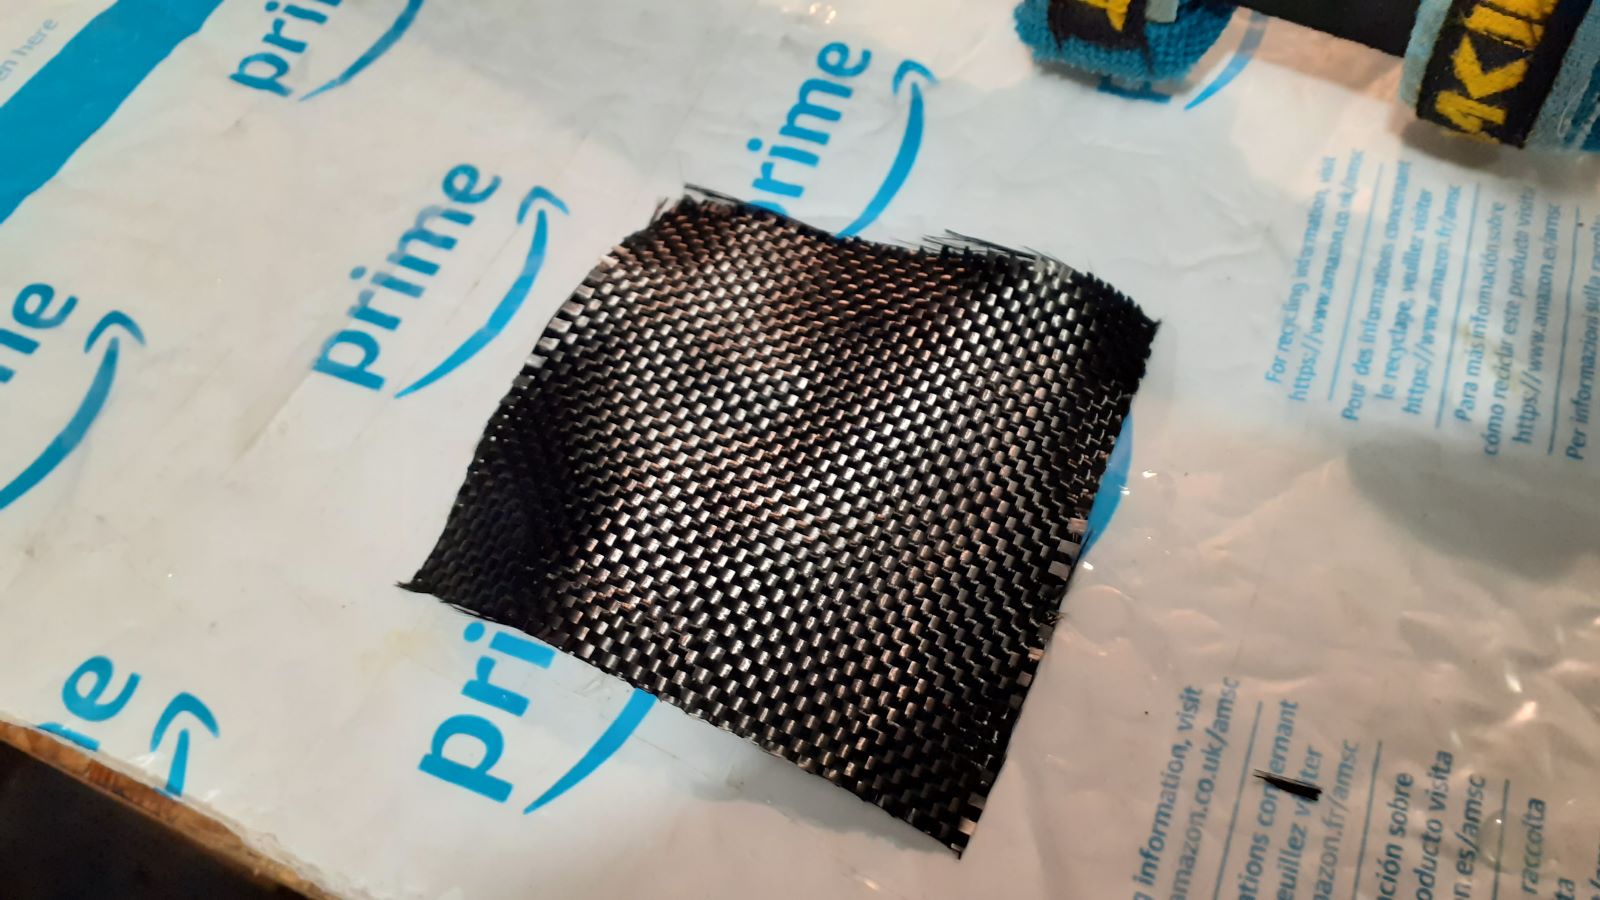
To solve the problem, we point out that, in the most well-stocked windsurfing shops, you can find ready-made pre-impregnated carbon shims prepared by the manufacturers, which fit perfectly around the carbon tube, under the handle. This is the case of Goya. Below, we show a photo of one of these shims, which is generally suitable for solving the problem even in the case of booms from other brands. In this case, you just need to dismantle the handle, taking care to carefully observe how it is assembled first (maybe take some photos before dismantling it). We then position the shim, reassemble the handle, and that's it.
In order to thicken the boom, the monofilm commonly used for the manufacture of windsurfing sails can also be used. In this case, once the handle has been dismantled, you will only have to cut out a rectangle of monofilm, slightly less wide than the carbon tube under the handle, and long enough to almost completely wrap the same tube in one turn. As an alternative to monofilm, you can also use PET from a plastic drink bottle (but, it sa to be smooth, and not wrinkled), which you will have to cut, before, as already suggested for monofilm.
The third approach we tested involves making the carbon shim yourself. It is certainly the most laborious, but it is not very complicated, even if reserved for those who have good manual skills, a passion for do-it-yourself, or are unable to find the shims of ready-made carbon, or a bit of monofilm.
Before venturing into this experience, we believe it is important to highlight two essential prerequisites:
1) make sure you have all the necessary materials, and in particular that you have some usable resin (not too old or deteriorated)
2) do the work in the warm season, i.e. with ambient temperatures well above 20 degrees, to guarantee that the resin catalyzes well and quickly, if you don't have a closed room (laboratory, industrial oven) in which to leave the boom with the resin carbon sheet, to dry.
Having said this, we briefly describe the procedure.
Materials needed:
- polyester resin for impregnation, brush, nitro thinner, latex gloves, rags.
- plastic or glass containers, for preparing the resin, and for cleaning the brushes with the thinner
- 200 Gsm carbon sheet (grams per m2), with a side of at least 20 cm, and a thickness of 0.5 or 1 mm. 0.5 mm is better in our opinion.
- scotch paper tape
- plastic panel or shiny sheet of paper, on which to place the freshly impregnated carbon sheet.
- transparent film, Domopack type.
Once the handle has been disassembled, tape the grip to the sides of the carbon tube for a span, to avoid dirtying it with resin during work. Clean the carbon tube with nitro thinner. Cut the carbon sheet with scissors, as indicated above for monofilm. Place it on the plastic panel, or sheet of shiny paper, on a table. Cut a sheet of Domopack film a little larger than the carbon sheet. Prepare the resin according to the resin supplier's instructions.
Dip the brush in resin and pass it on both sides of the carbon sheet, placed on the plastic panel, or on the sheet of shiny paper. This type of surface is useful because it is easy to detach the carbon sheet impregnated with liquid resin from it. Take the resin-coated carbon sheet with your hands (wear gloves), and lay it on the carbon tube, so as to wrap it almost entirely. Wrap the Domopack on the carbon sheet. It will act as an intermediate layer between the resin-coated carbon and the paper tape that you are about to apply, to prevent the latter from being problematic to remove. Starting from one side of the grip where you have already placed the protective paper tape, begin to spirally wrap the paper tape also over the Domopack, and over the carbon sheet, tightening so as to release all the air that may be present in the sheet of carbon. Reach the other end of the tube to be shimmed, i.e. the grip covering protected on the other side.
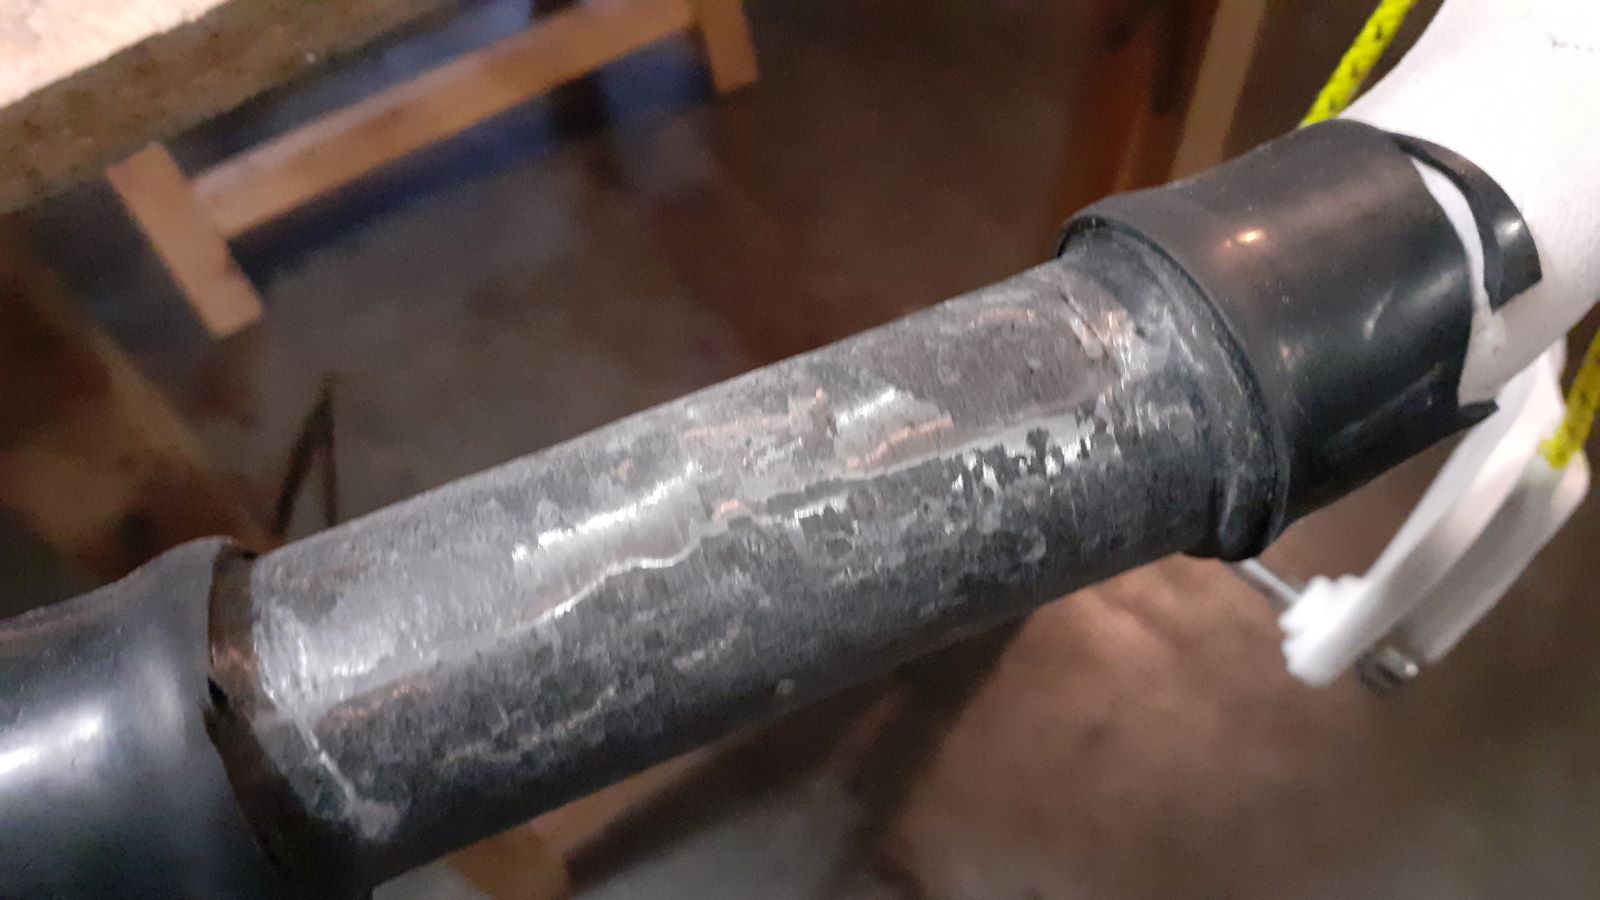
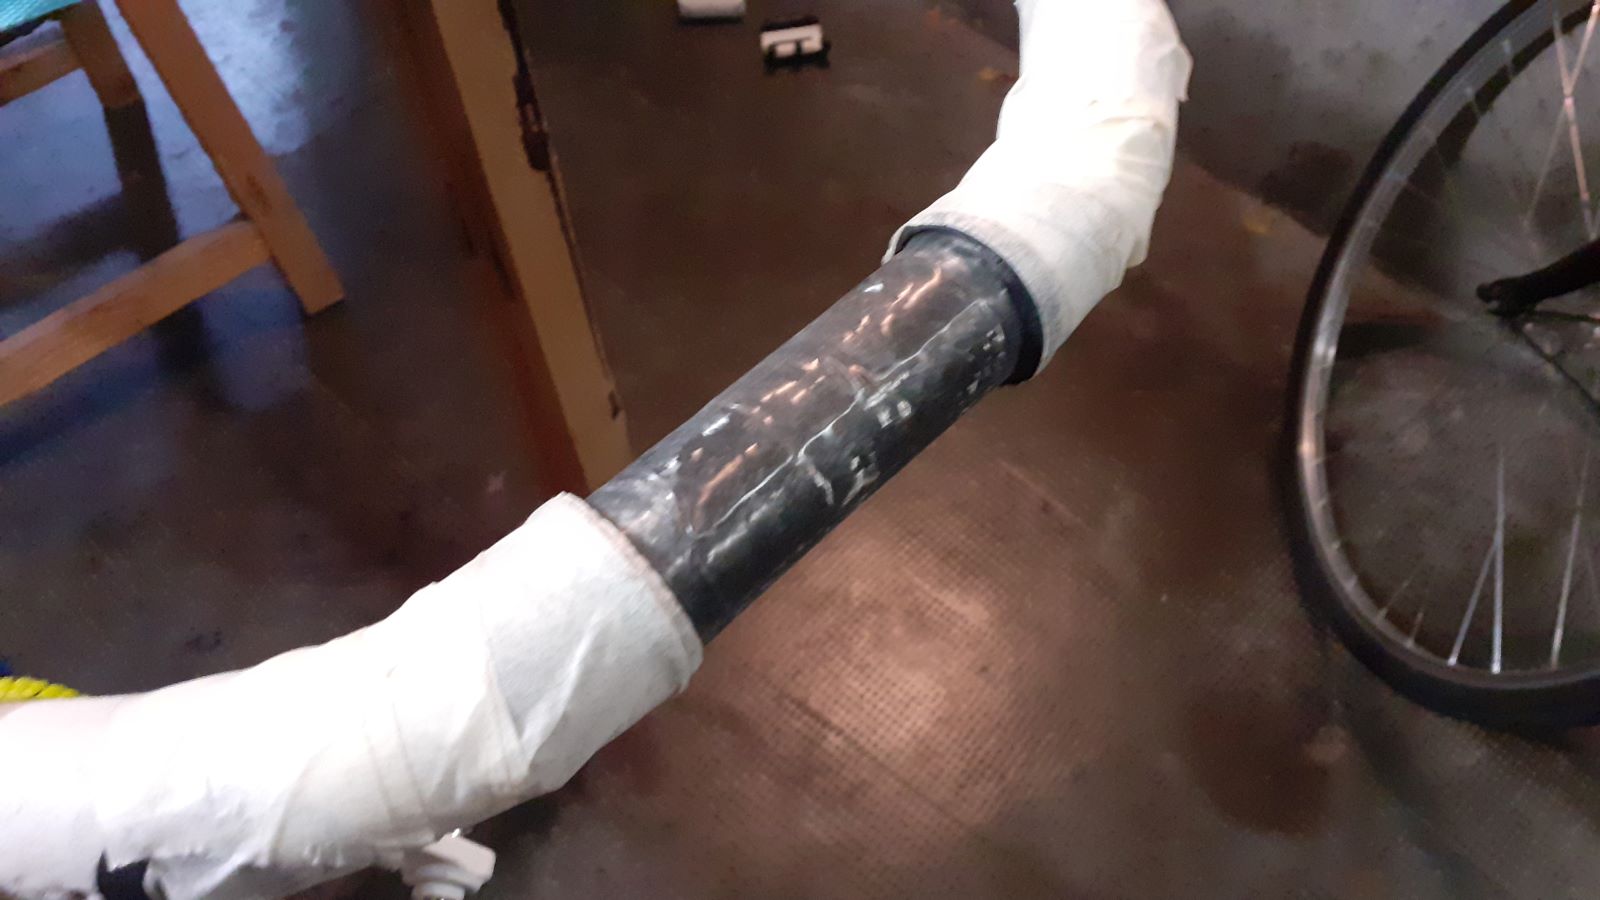
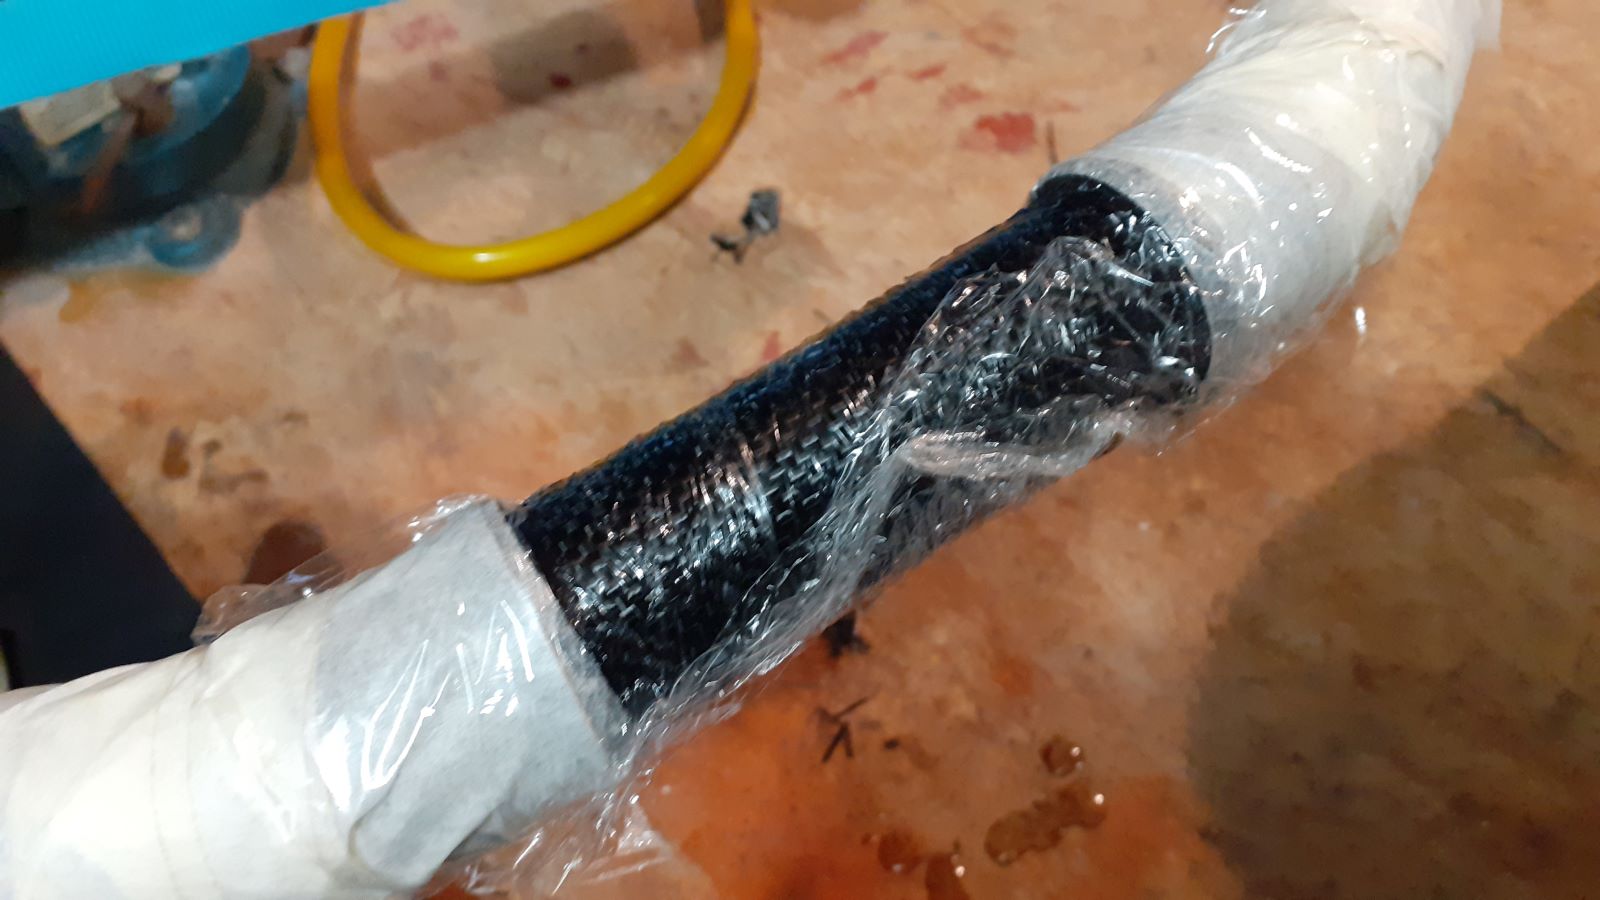
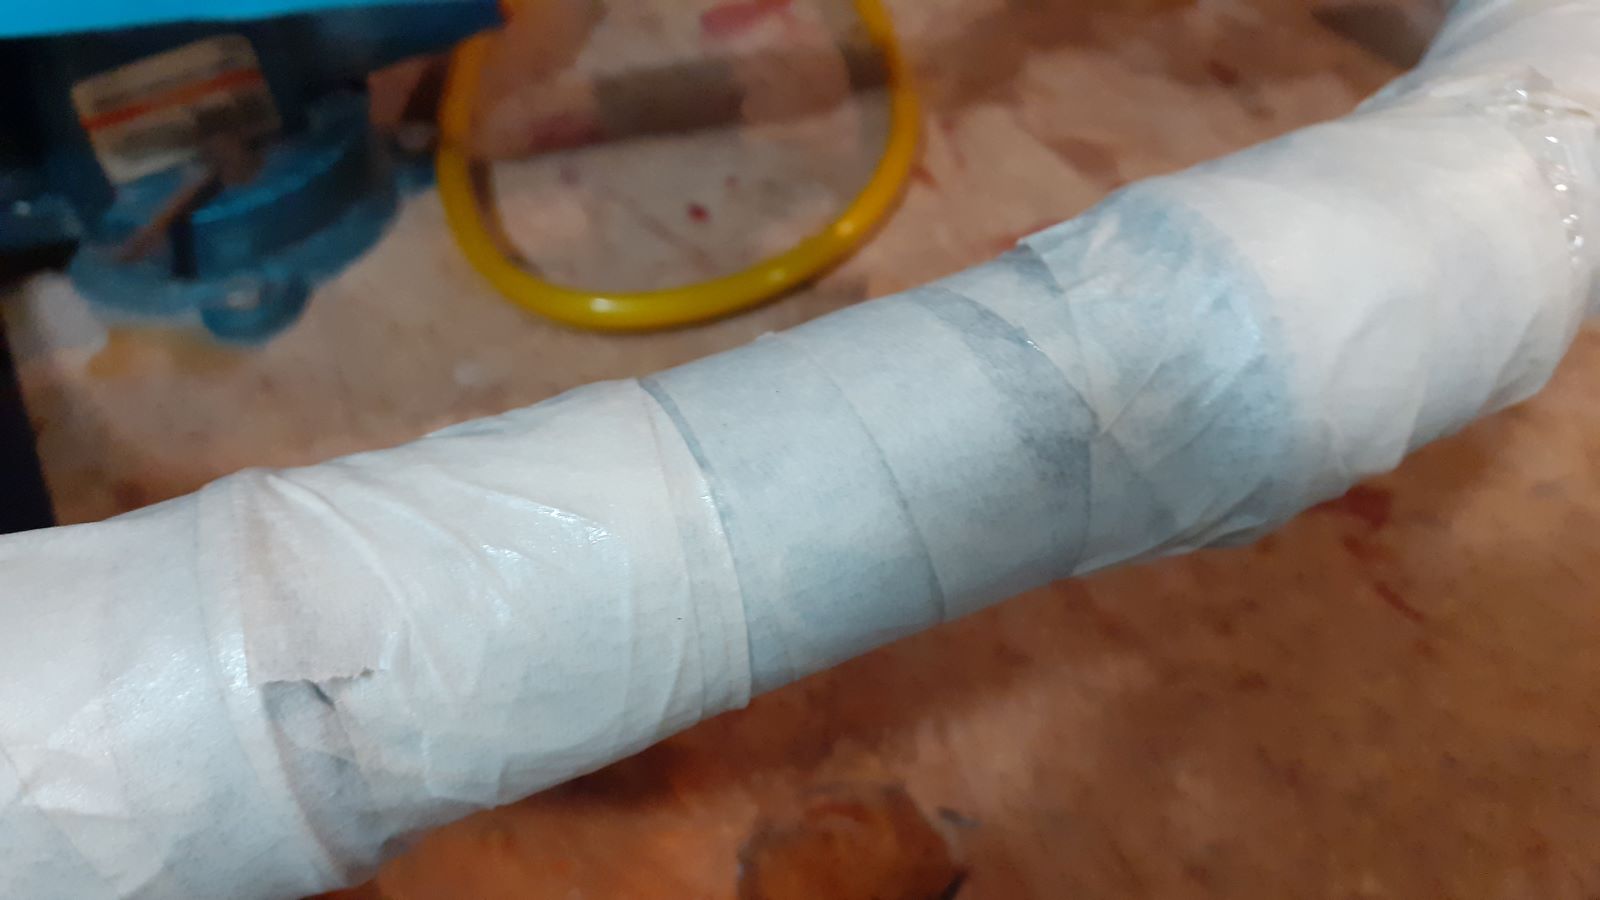
Now you need to let the resin dry and catalyze. So, expose the boom to heat (ideal 25-30 Celsius degrees). In a few hours, the resin should have hardened. To be safe, you can wait a whole day.
Then remove the scotch paper tape from the Domopack, the Domopack film itself, and then also the scotch paper tape over the grip. If necessary, sand any imperfections with 150-200 sandpaper and reassemble the handle.
If you have any questions or suggestions, write in the comments below.
Good work. Fabio
Without your Support, Waterwind wouldn't exist. Become our supporter! If you want to advertise with us, read here, or contact us. Collaborate with us. Read here! Buy our Gadgets! Visit our YouTube channel!


